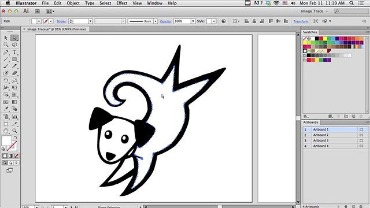
The Way To Use Image Trace In Adobe Illustrator Cc
A greater value increases tolerances, whereas decrease values will give you a more correct path fitting. Setting your corners to high will increase the likelihood that a path could have a corner, and vice versa. Here are two equivalent photographs that have been traced limiting the colors to two, and utilizing different methods. To manipulate the photographs after tracing, go to the Options Bar and click Expand. In this tutorial I’ll be demonstrating how to trace a picture to vector with Illustrator, each in color and in monotone.
After you’ve added your picture, you’re going to have to make sure you go back to the Select device. ) from the Tools panel, then click on and drag the outer red circle on the target slightly to the best. By selecting the Overlapping method, the paths stack on prime of one another. You will discover that by selecting the Abutting choice, the paths are cut out in sections you could move and edit easily. To view your unique image, click on and maintain the visibility icon situated to the right of the View drop-down menu.
Getting Ready Files For Picture Hint
In the example above, there are two “enclosed” areas in the authentic drawing—the circles for every of the lenses. This made it easier to use colors to those shapes after the picture was vectorized. To create enclosed spaces on the edges of your drawings, merely crop down your image so that the strokes run off the edge of the picture. This concludes our tutorial on tips on how to auto hint an image to vector with Illustrator, in each monotone and in color.
Palette and Colors allow you to specify the variety of colours allowed. When the image is chosen, click on on a gift and it will preview live on the artboard. Once you’re happy with the preview, you possibly can create the tracing by deselecting Preview and clicking Trace. Toggle the Preview setting to get a preview of your vector tracing, then use the settings to regulate your tracing as wanted. In the Curves menu, take the node at the backside-left and slide it to the best to increase the depth of the dark areas in your picture. Then, take the node to the highest-right and slide it to the left to increase the intensity of the lighter areas of your image.